Introduction
Proper cleaning of a dental polishing kit is essential for protecting patients, extending tool life, and ensuring smooth clinical workflows. This professional guide from Hocera provides ADA- and CDC-aligned protocols for cleaning polishing cups, brushes, points, and handpieces, along with inspection and storage recommendations.
Why Cleaning Matters
Polishing tools come into direct contact with saliva, tissue, and restorative materials. Without thorough cleaning, debris can reduce polishing effectiveness, harbor microorganisms, and cause cross-contamination. Cleaning is always the first step before disinfection or sterilization.
Supplies You’ll Need
- Enzymatic or dental instrument cleaning solution
- Soft-bristled brushes and small nylon brushes
- Lint-free cloths or a drying rack
- Autoclave (for sterilizable components) or FDA-cleared reprocessing device (for handpieces, if applicable)
- Personal protective equipment (gloves, eyewear)
Step-by-Step Cleaning Protocol
1. Pre-Rinse
Immediately after use, rinse tools under warm running water to prevent debris from drying and hardening.
2. Disassemble
Separate cups, brushes, polishing points, and handpiece attachments. Use a parts tray to avoid losing small items.
3. Soak in Cleaner
Soak detachable consumables (cups, brushes, points) in an approved cleaning solution for the manufacturer-recommended time.
4. Brush & Inspect
Use soft brushes to clean all surfaces and crevices. Inspect polishing points and brushes for wear, such as fraying or flattening. Replace if damaged.
5. Rinse Thoroughly
Rinse under running water to remove detergent residue. Leftover cleaning solution may interfere with sterilization.
6. Handpiece Care
- External: Wipe with a compatible disinfectant cloth.
- Internal: Clean and sterilize removable handpieces in an autoclave. If a handpiece cannot be sterilized, follow the manufacturer’s reprocessing instructions.
7. Dry Completely
Allow parts to air-dry on a clean rack. Ensure all components are fully dry before storage.
8. Sterilize
Sterilize autoclavable components according to protocol. Cleaning must always precede sterilization.
9. Reassemble & Store
Reassemble only after confirming all parts are intact and dry. Store in a clean, dust-free cabinet or sealed case.
Inspection & Replacement
- Replace polishing cups with cracks or embedded debris.
- Replace brushes with frayed bristles.
- Keep a log for consumable replacement intervals based on usage frequency.
Hocera Recommendations
- Use original-size replacement consumables for proper fit and safety.
- Train staff to follow a consistent cleaning SOP.
- Consider single-patient labeled sets for high-risk cases.
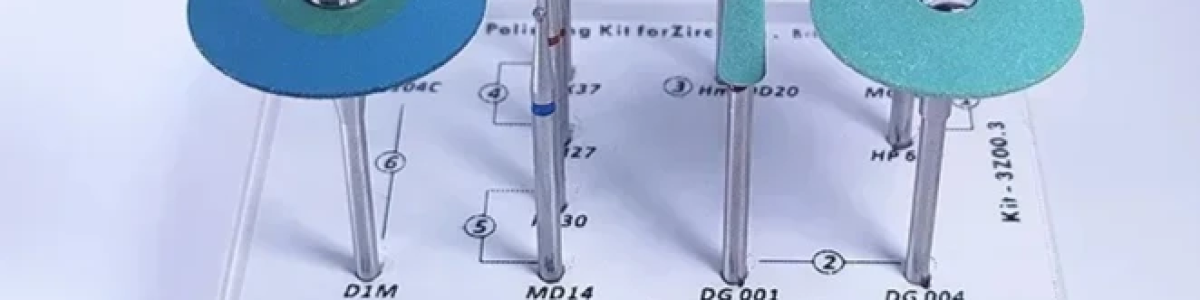
Hocera zirconia polishing kits are designed for durability and easy reprocessing. Contact our team for clinical packs, replacement parts, and a downloadable cleaning checklist.
FAQs
Q: Can polishing cups be autoclaved?
A: Only if the manufacturer specifies they are autoclavable. Otherwise, use high-level disinfection and replace as necessary.
Q: When should polishing points be replaced?
A: Replace when they show visible wear, fraying, flattening, or embedded debris that cannot be removed.
Q: Do all handpieces require sterilization?
A: Handpieces that can be removed from air/water lines must be heat-sterilized. If not, follow the manufacturer’s validated reprocessing instructions.
References
- Centers for Disease Control and Prevention (CDC) — Guidelines for Infection Control in Dental Health-Care Settings
- American Dental Association (ADA) — Instrument Cleaning and Sterilization Guidelines