At Hocera, we know that precision starts with the right materials — and the right technique. Dental wax blocks play an essential role in dental laboratories and clinics, whether you’re sculpting a crown pattern, creating a diagnostic model, or fabricating temporary restorations.
In this guide, we’ll walk you through how to apply a dental wax block correctly, with professional tips to help you achieve accurate, clean, and efficient results.
Why Dental Wax Blocks Are Important
Dental wax blocks are versatile tools used in prosthodontics, orthodontics, and dental modeling. They are ideal for:
- Crown and bridge patterning
- Inlay/onlay wax-ups
- Orthodontic appliance setup
- Baseplate creation for dentures
- Diagnostic mock-ups
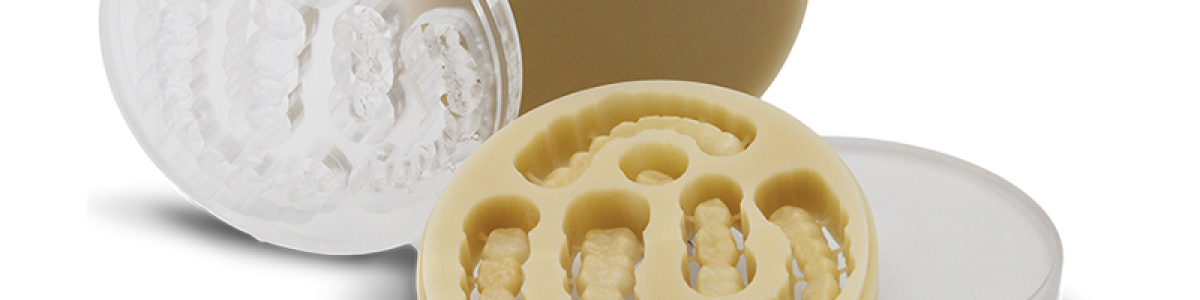
With Hocera Dental Wax Blocks — including our Casting Wax Disc, Carving Wax Disc, and Multi-purpose Wax Disc — technicians can work with stable, consistent materials designed for precise carving and melting behavior.
Tools You’ll Need
Before starting, prepare these essentials:
- Hocera Dental Wax Block (select type based on your procedure)
- Wax spatula or modeling instrument
- Wax knife for fine shaping
- Bunsen burner or electric wax heater
- Dental model or working cast
- Heat-resistant gloves (optional, for safety)
Step 1: Soften the Wax
Gently heat your instrument — not the entire wax block directly.
- With a Bunsen burner: Pass the spatula or knife briefly through the flame.
- With an electric wax heater, Place the wax block in the chamber until the surface becomes workable.
✅ Pro Tip: The wax should be soft enough to mold but firm enough to hold its shape without dripping.
Step 2: Apply Wax to the Model
Using the warmed spatula, transfer softened wax onto your working area.
- For a crown wax-up, start at the marginal areas and gradually build the anatomy.
- For orthodontic setups, apply wax where retention or stabilization is needed.
Step 3: Sculpt and Contour
Use the wax knife to refine occlusal anatomy, smooth surfaces, and shape margins.
- Maintain symmetry and follow the natural tooth morphology.
- Work in layers for greater control.
✅ Pro Tip: Keep your instruments warm for smoother cuts and fewer drag marks.
Step 4: Check the Fit
- For lab work: Test the wax pattern on the model for marginal adaptation.
- For chairside work: Have the patient bite lightly to confirm comfort and occlusion.
Make fine adjustments with the wax knife as needed.
Step 5: Finish and Polish
For a clean, professional result:
- Remove excess wax with a spatula or trimming tool.
- Lightly flame-polish the surface for a smooth finish.
Common Troubleshooting
| Issue | Cause | Solution |
|---|---|---|
| Wax too hard | The room temperature is too low or insufficient heating | Warm the wax or your instruments more thoroughly |
| Wax too soft | Overheating | Allow wax to cool slightly before application |
| Poor adhesion | Surface contamination or dryness | Clean and dry the surface, or preheat slightly for better bonding |
Why Choose Hocera Dental Wax Blocks?
- Consistent melting point for predictable handling
- Smooth carving texture for detailed anatomy
- Available in discs for CAD/CAM or manual shaping
- Laboratory-tested quality for professional use
Whether you’re a dental laboratory, prosthodontist, or orthodontic specialist, Hocera offers a complete range of dental wax solutions designed for accuracy, stability, and efficiency.
Boost Your Workflow with Hocera
If you want to work with high-quality dental wax blocks that are compatible with both traditional and modern CAD/CAM workflows, explore the Hocera Wax Series.
📩 Contact our sales team today to learn more about our products or request a sample.